My Computer Build
“I thought computer building was for nerds... turns out it is, and I am one of them.”
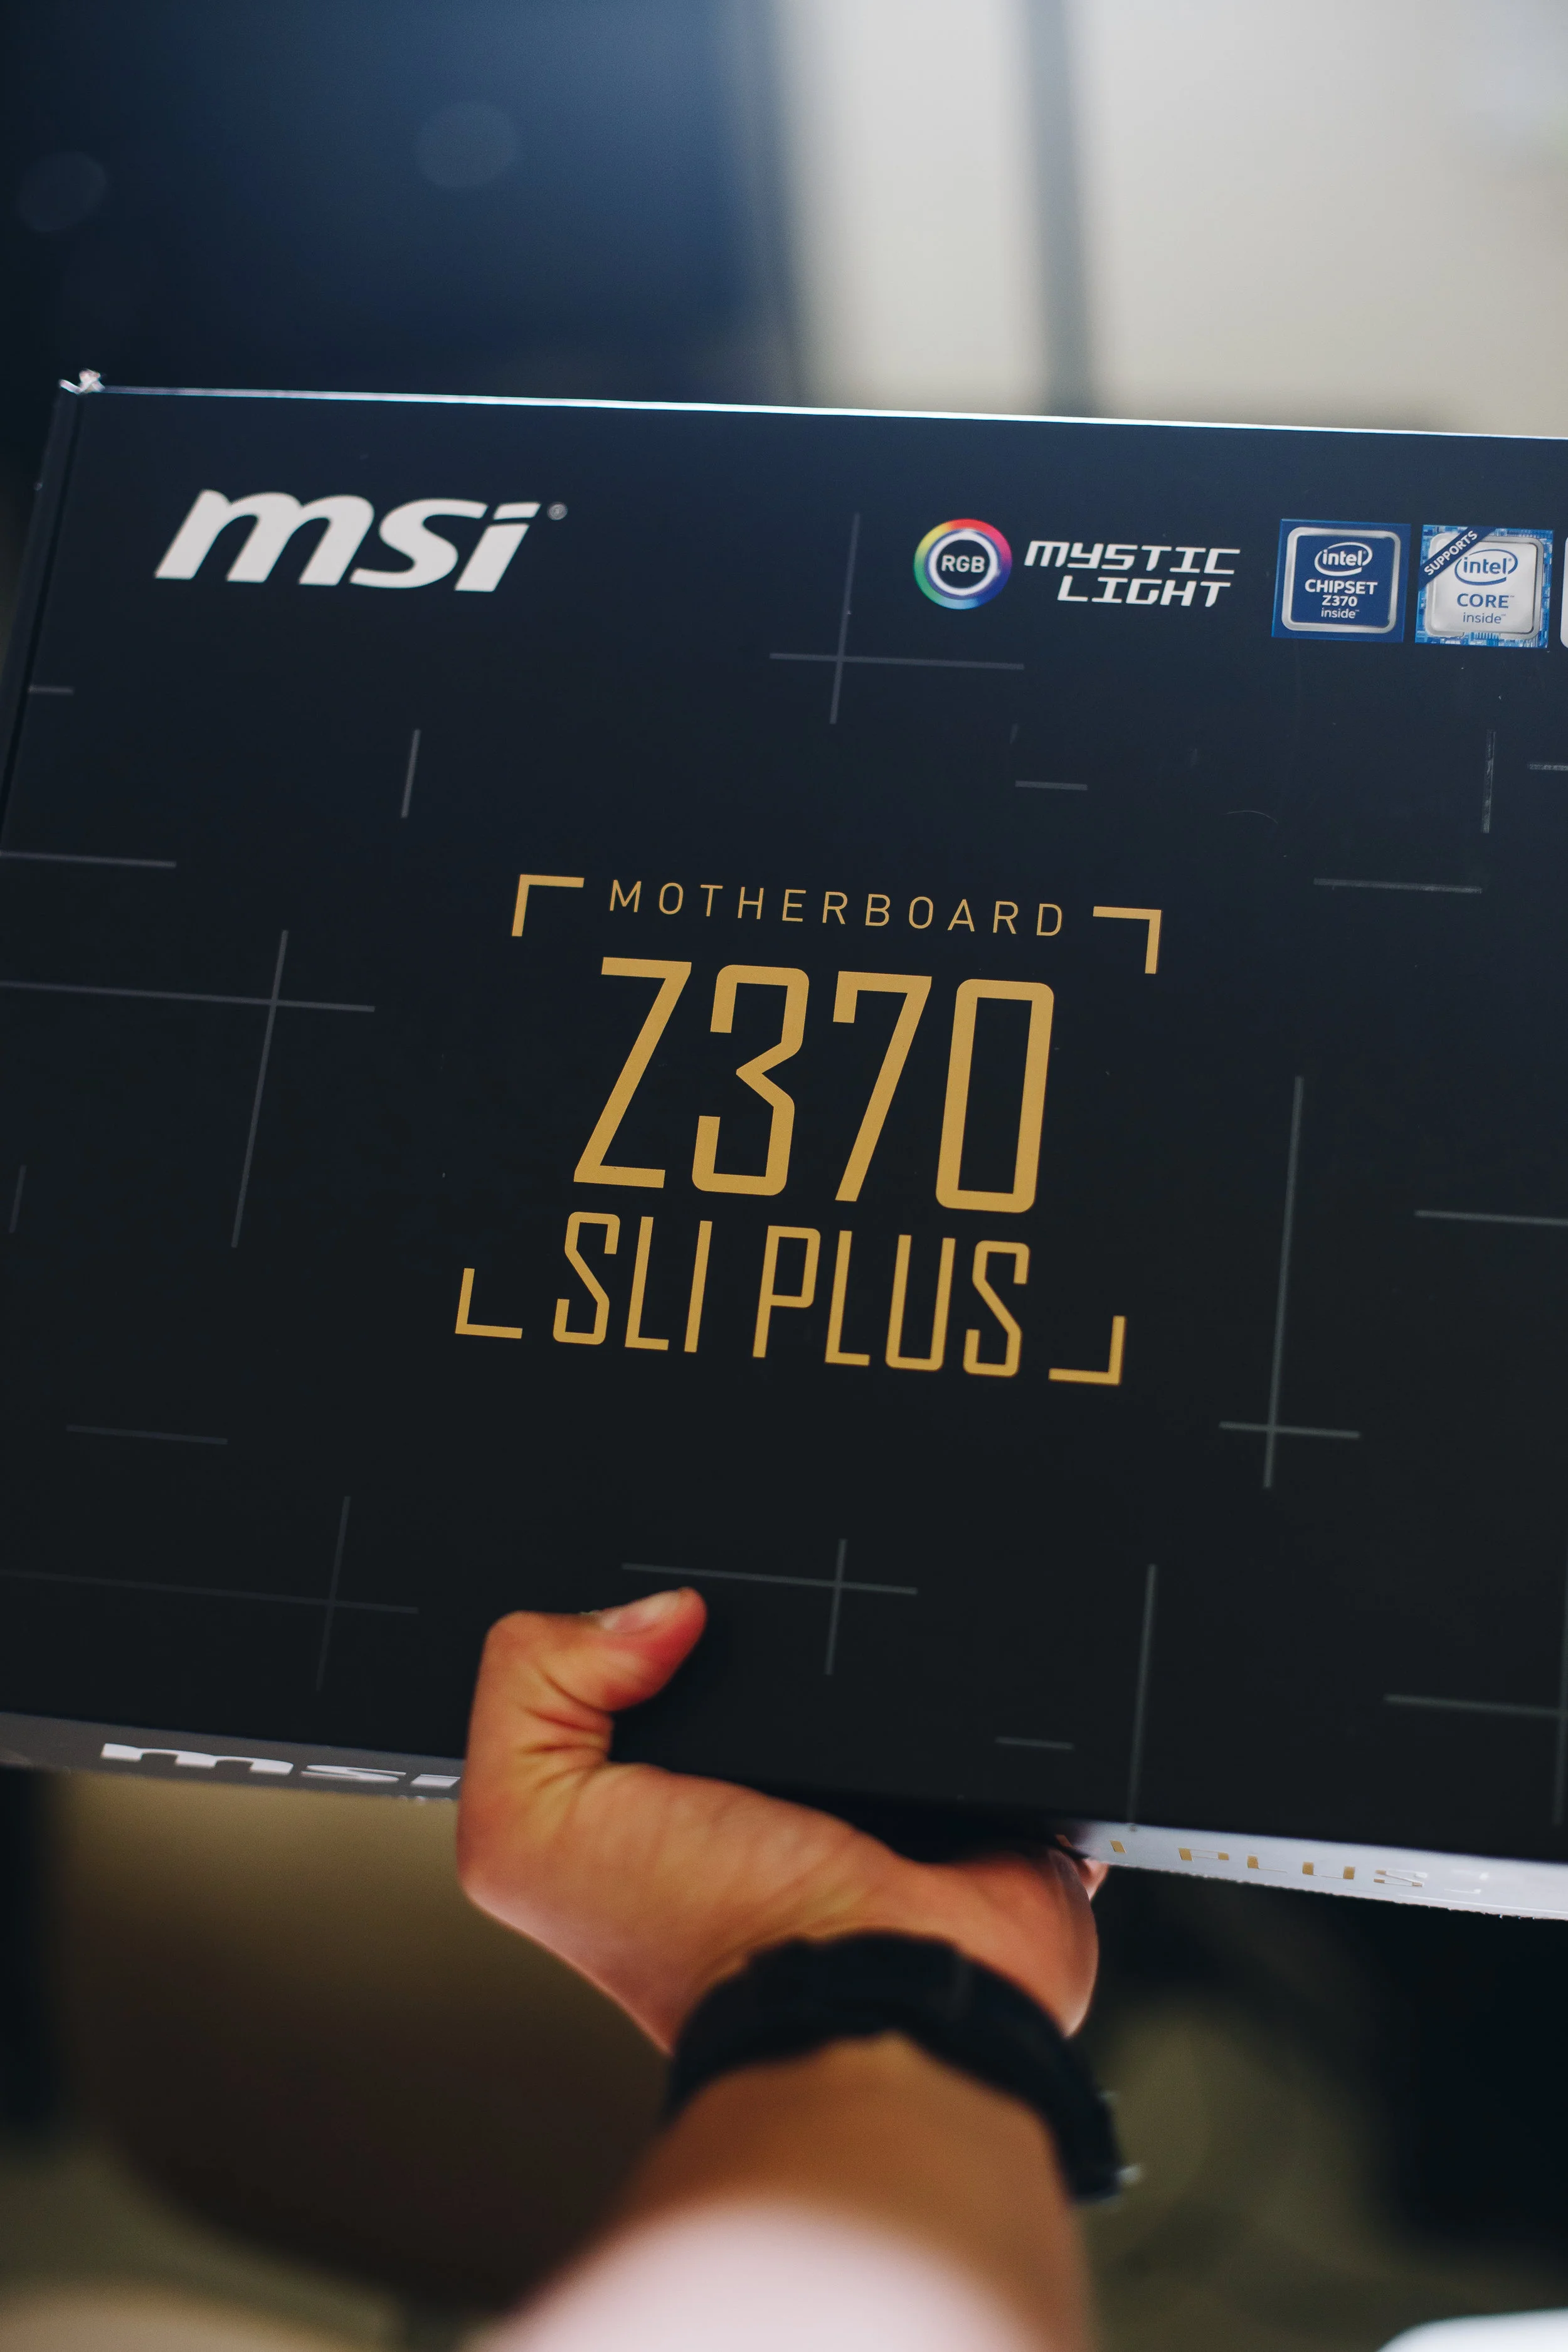
Never did I imagine building my own computer... ever! It's striking to see what "need" will teach you and it's even more intriguing to see how far one can go to learn. It was winter break of 2017 when a peculiar title landed across my "recommended videos" in YouTube... it read "Is it time to switch to Windows for video editing?". This title/topic is one that contains much debate on the internet and amongst colleagues, but tbh the intriguing aspect wasn't found much within the title, instead, it was found on the author of the video: Phillip Bloom. A renown DP, filmmaker, and editor... one I look up to. That 12 minute video was the start of my journey to build my first editing workstation.
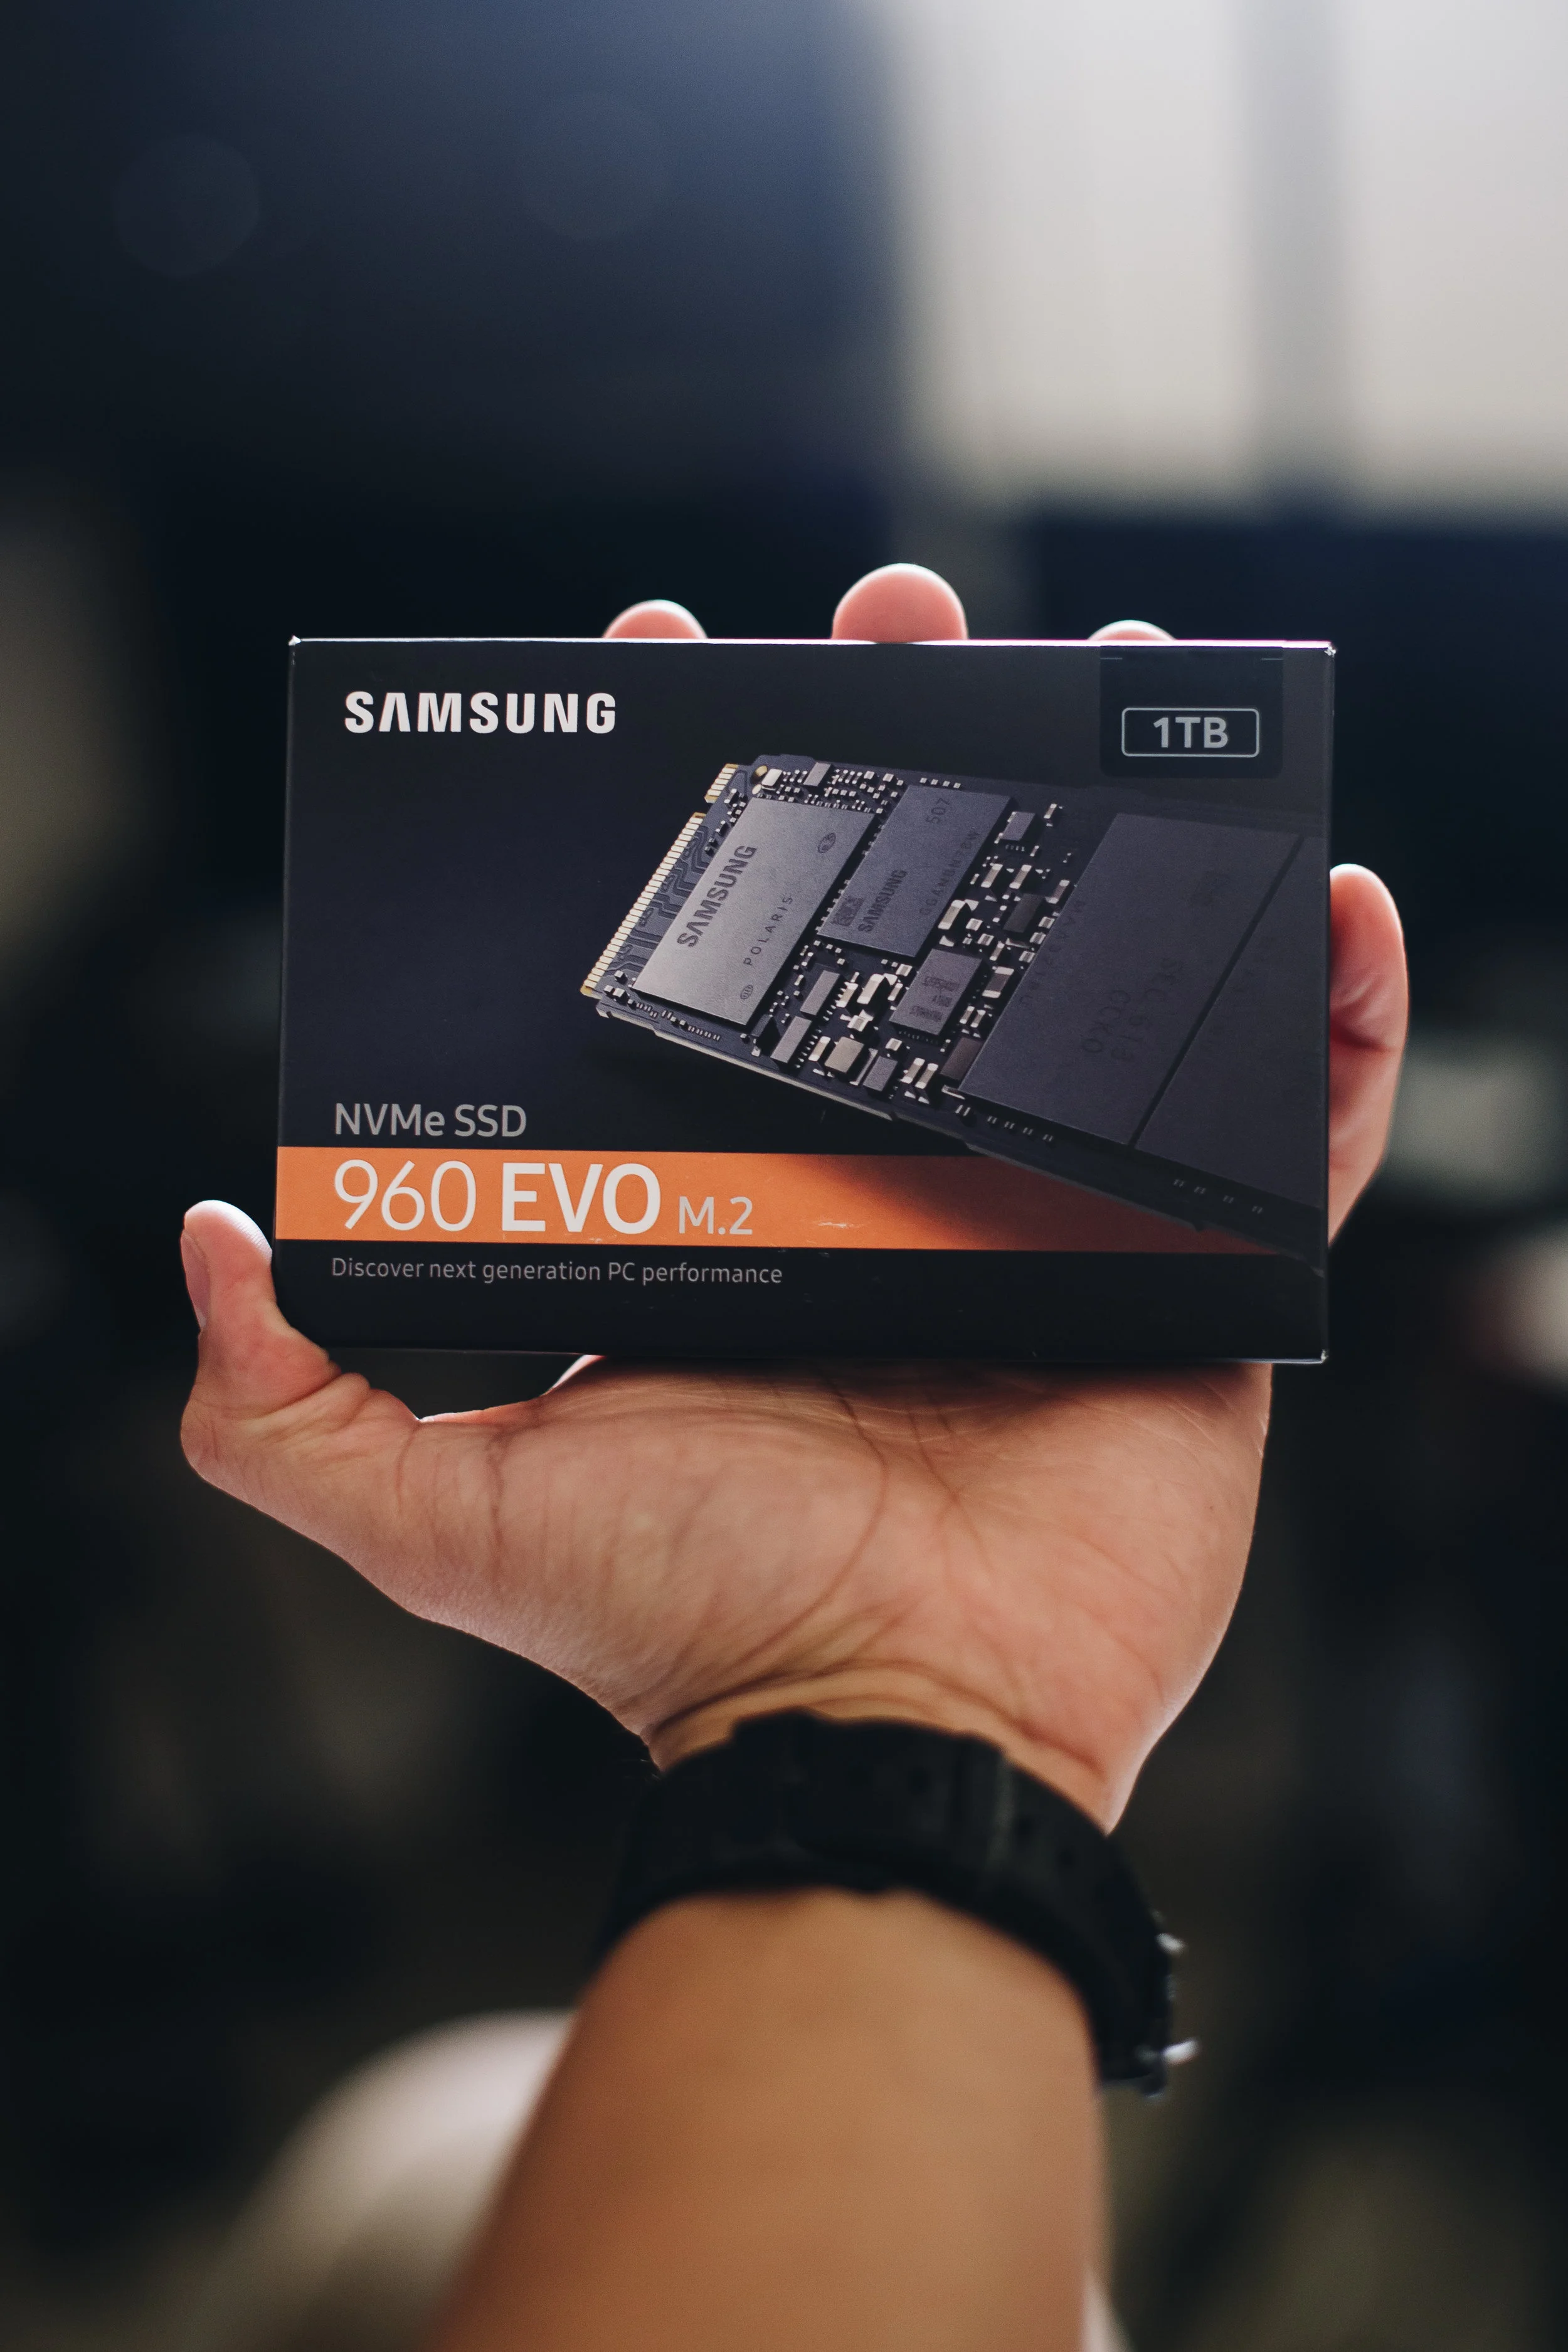
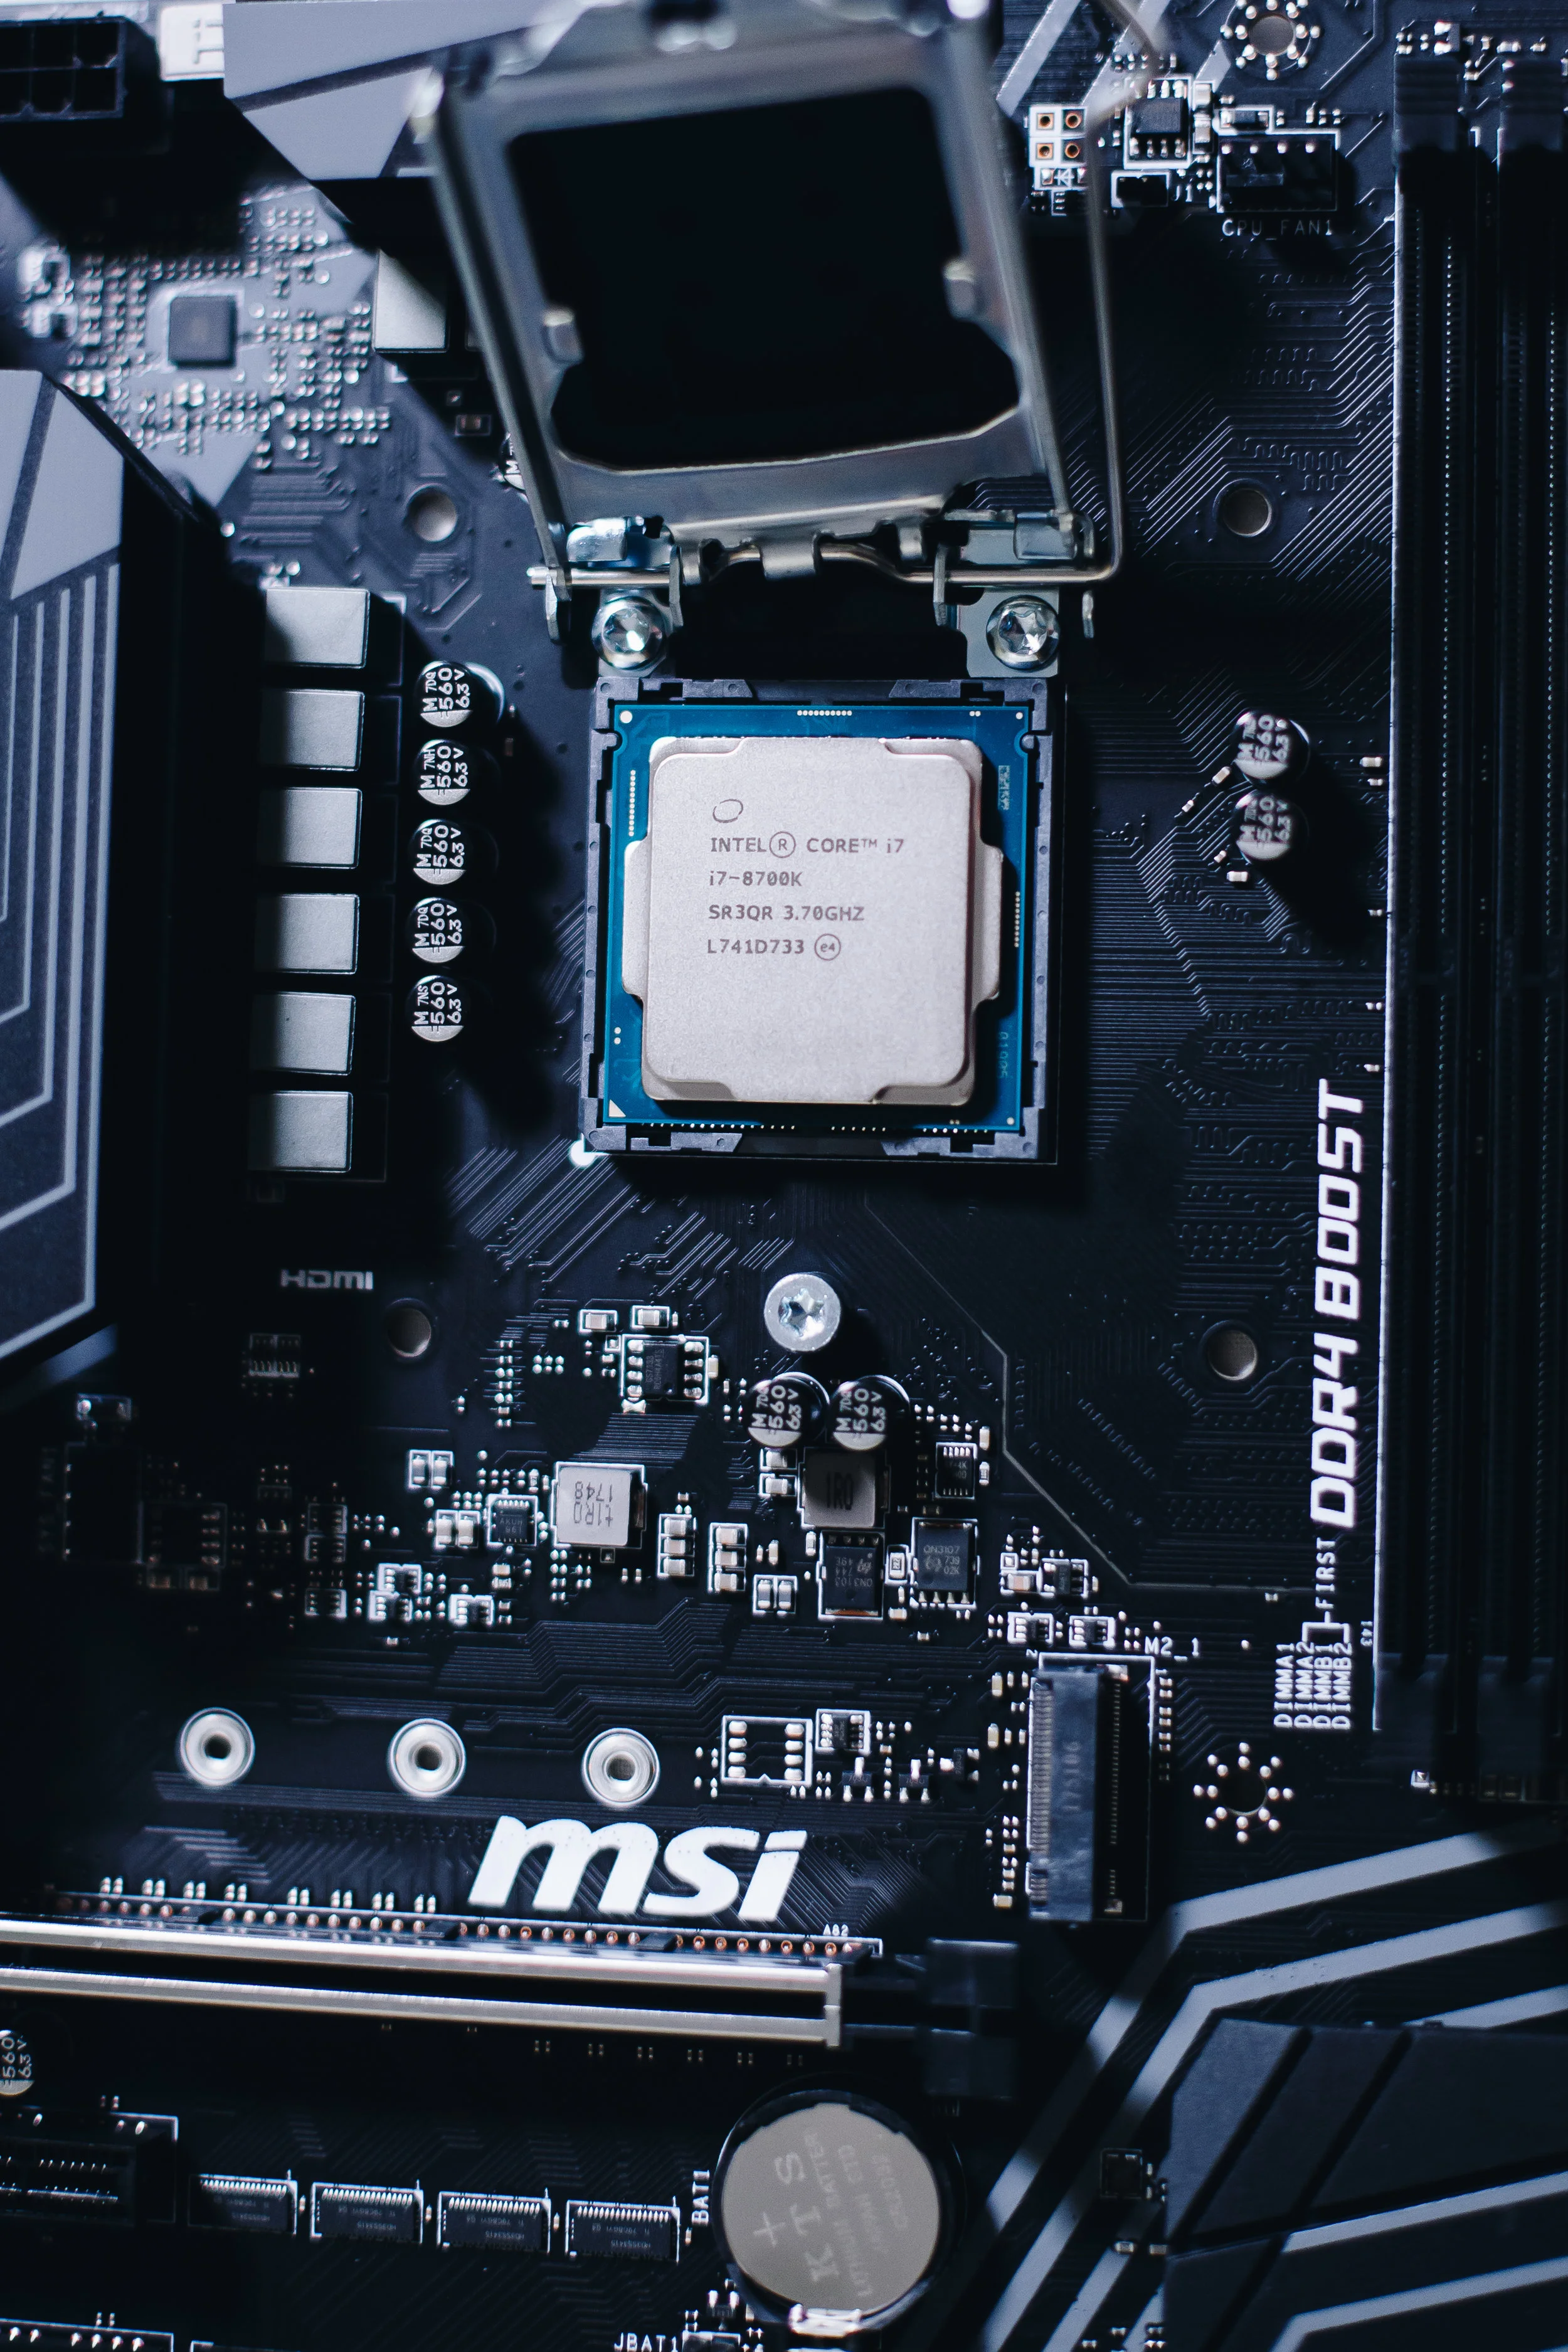
That winter break, I spend hours watching computer build videos, reading articles and learning the lingo & meanings behind each component. During this time I understood that it took much more than a pair of RAM sticks and fast hard drives to make up a great workstation. Things such as choosing the right CPUs, GPUs, RAM, liquid cooling, motherboard, M2 memory, & computer wattage were all essential for a stable & reliable PC. During this research time, I also compared PCs to Macs and learned that both OS's have their advantages and disadvantages. Although this is a topic for another day, all I will say, is that it all comes down to personal preference & budget. I've used both of these platforms to create content for work, business and personal projects, and they perform the job as expected.
For this build I was aiming for a computer that I could handle 4K and be easily available for future upgrades. I budgeted $2,600 to $3,000.
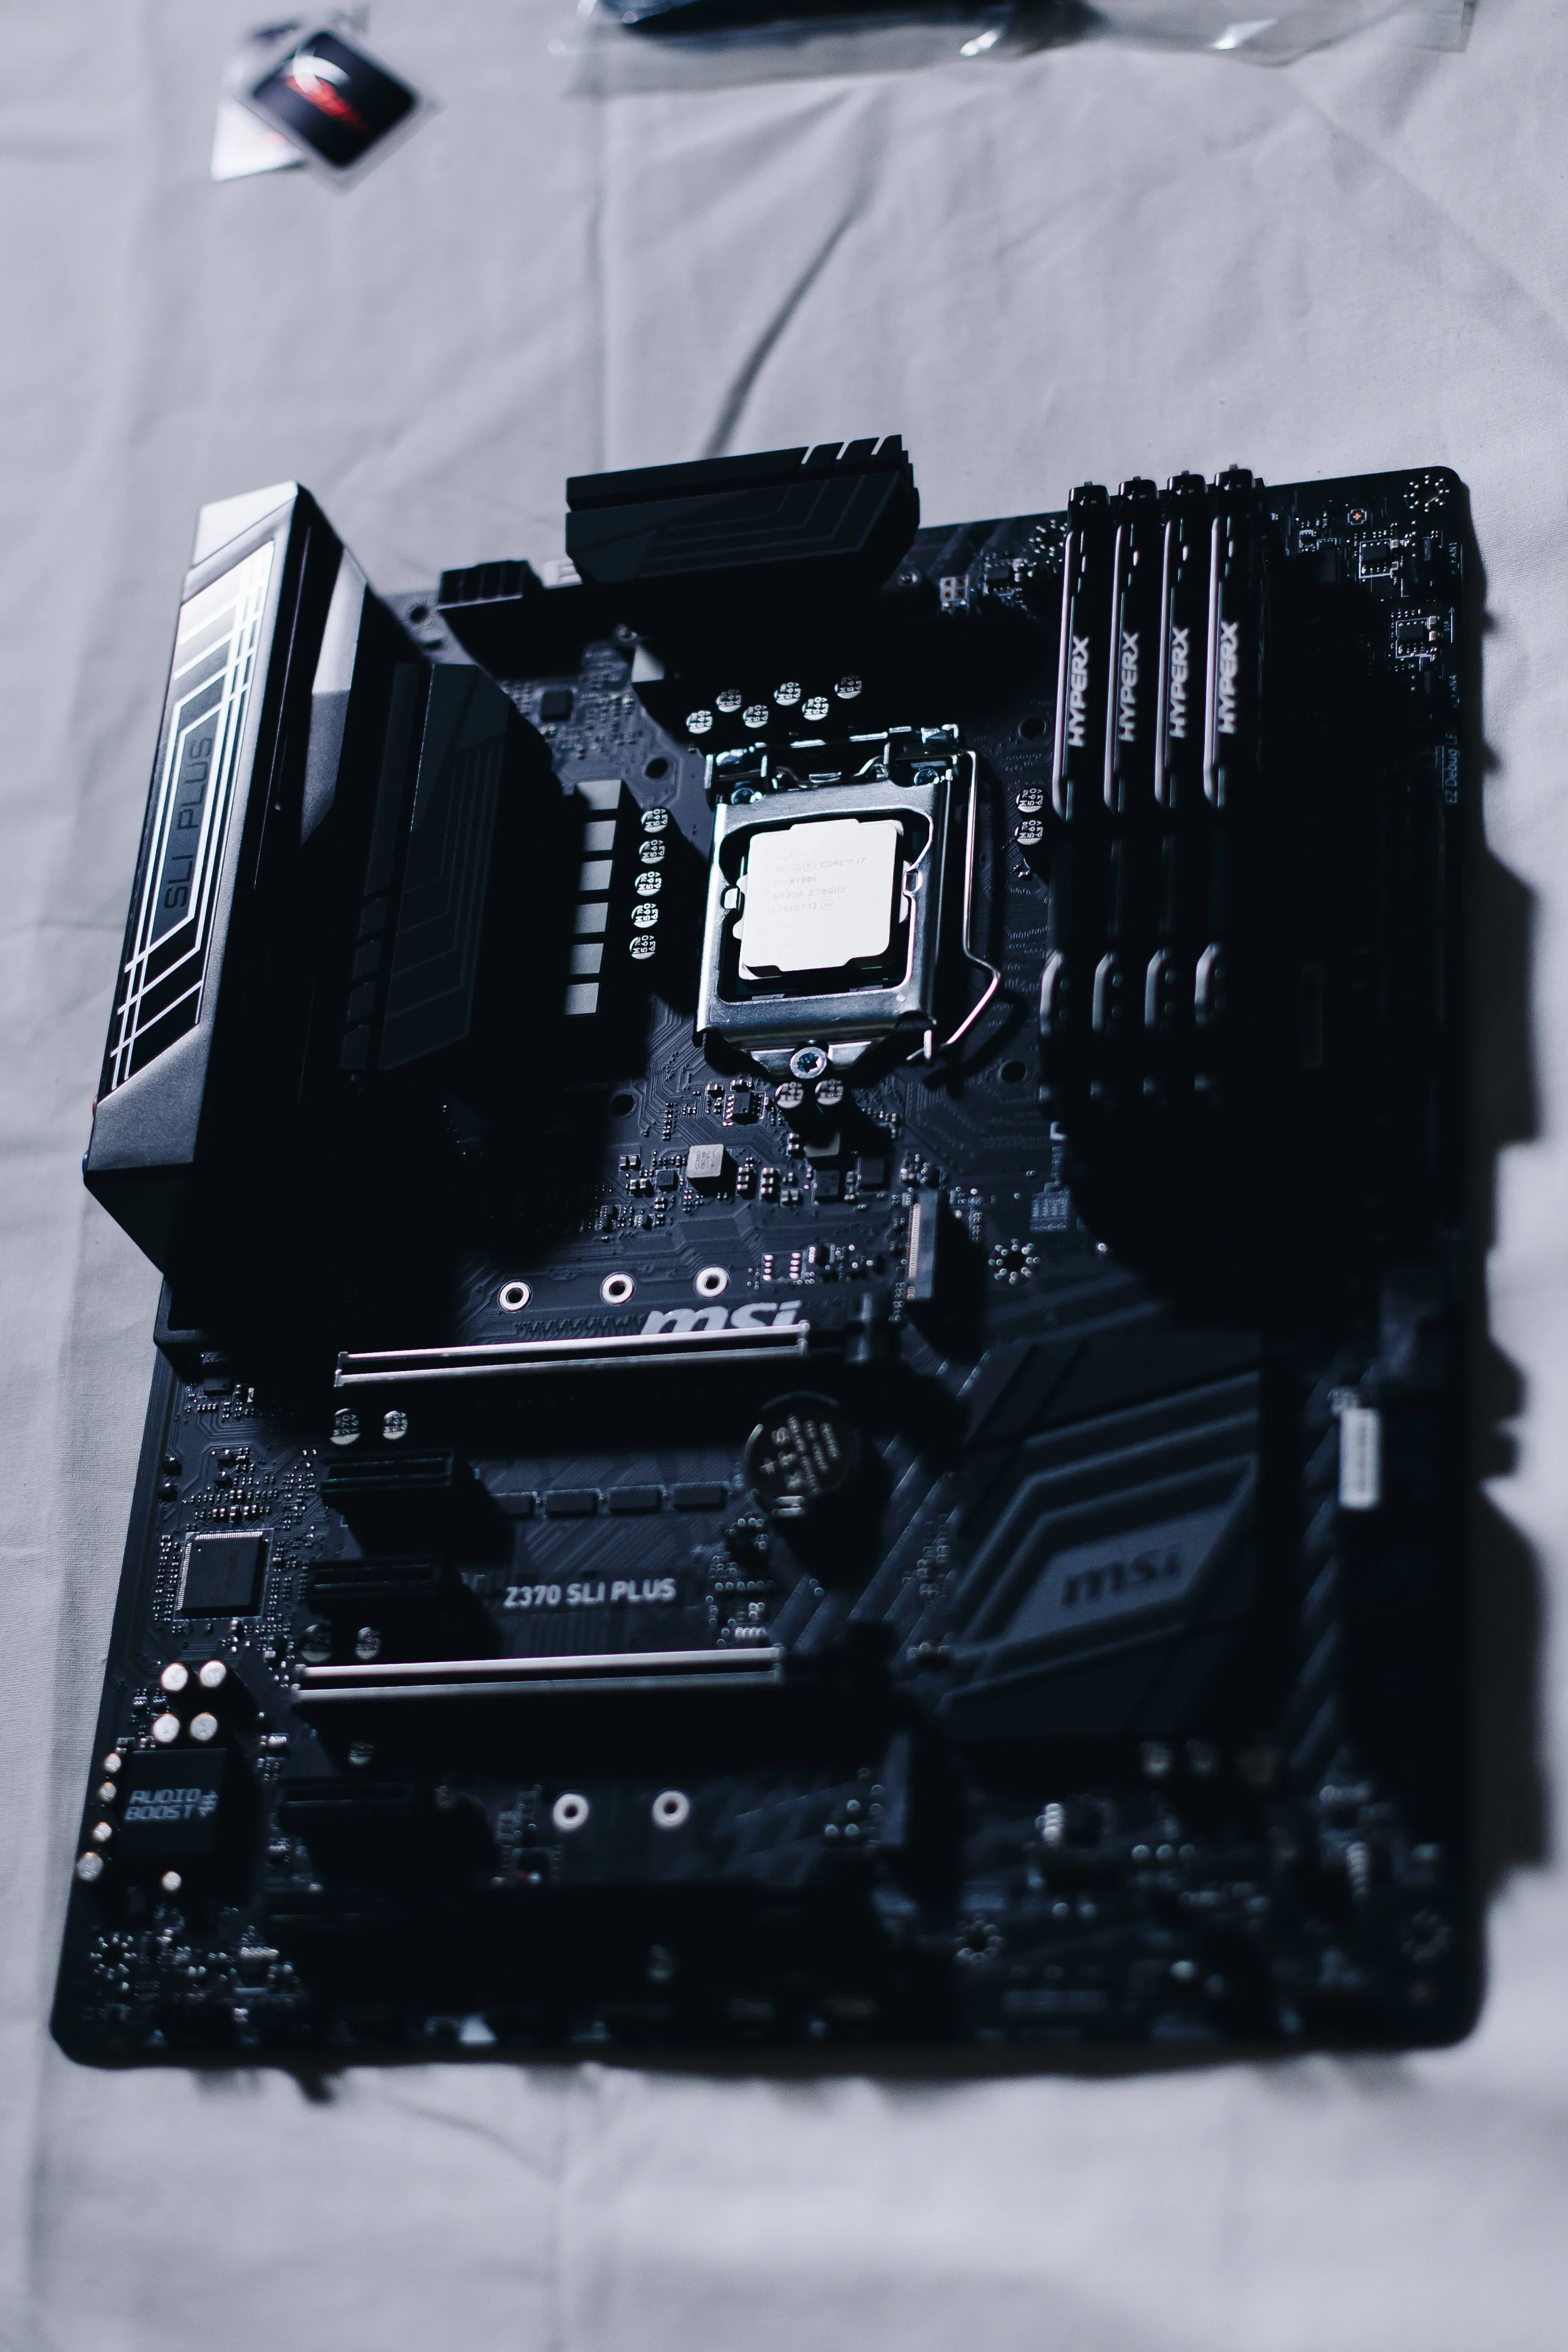
I began by planning this build through pcpartpicker.com.This would help me budget the complete build, allowing me to compare and choose the best components in the market. This list lived in my browser for three months... it was changed about 20 times, as I would add and remove items trying to squeeze as much power and reliability from each part. During this process it was key to seek counsel from people in the industry and experienced PC builders to make sure that the decisions I was making were getting me the best bang for my buck. Following this process it came down to finalizing my list and choosing where to acquire each component from. For my build, I bought every piece from four different online stores: B&H Photo, PC Outlet, Amazon, NewEgg. Upon arrival it was time to take the step that would encompass all that I had learned and researched for the last 4 months.... building my workstation... (Timelapse build at the bottom of the page)
Below you can find a timelapse of the process of putting all these pieces together, as well as the complete list I used to build it. You can click the separate link or follow press the button below where it will take you to the home page of PC PartPickers. There you can modify the list according to your preference. If you have any questions feel free to leave a comment below and I will gladly try to help you.


